Thứ Sáu, 4 tháng 10, 2013

Step 1
To start, create a new 2400×1600 pixels document. Use the Text tool to add the text that you like. You should stick to a thick font for 3D text because thin fonts don’t show up well. The font I’m using is a free font called Couture. After typing, go into the Characters panel (Window > Characters) and reduce the leading. You can click on the Leading icon and drag left/right to increase/decrease the leading instead of typing in a number.
Dream Dine Design
For the nightshift designers


Step 2
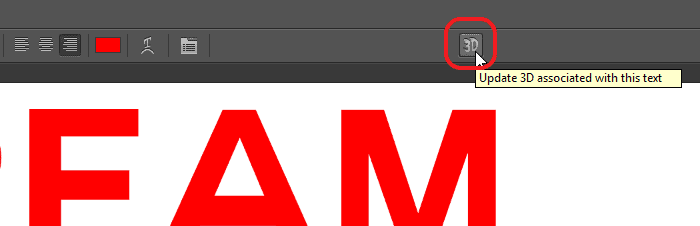
Next, we’re going to convert the text to 3D. With the Text tool selected, click on the 3D button in the options bar. Remember, you need Photoshop CS6 Extended to see this button. Your text will turn 3D instantly and Photoshop will be switched to the 3D workspace. With the Move tool selected, click on the text to select it. You can also select it from the 3D panel. With the text 3D layer selected, reduce the “Extrusion Depth” setting in the Properties panel. This makes your text thinner and you’ll see it change as you make the adjustment.


Step 4
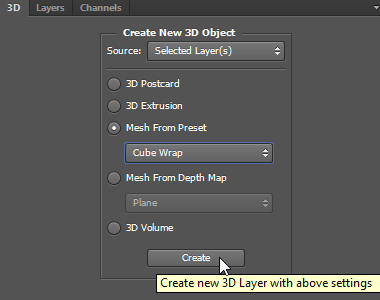
We’re going to leave the text for now and create the crystal. It’s really easy to make and we’ll show you how. Create a new layer and name it “Crystal”. In your 3D panel, select “Mesh From Preset” then click Create. Photoshop will create a 3D cube for you on this layer. Next, we need to merge the cube with the text layer so that we can use the same camera and lighting setup. To do this, press Ctrl/Cmd+E or go to Layer > Merge Down.

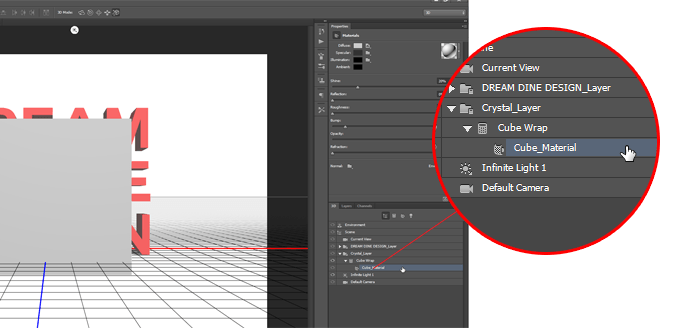
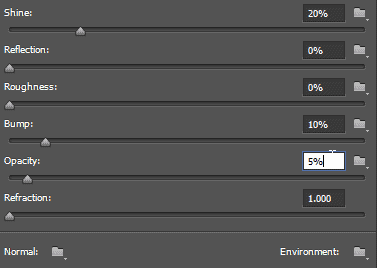
Step 5
We’re going to reduce the opacity of the cube to give it some transparency. This will help in the next step when we fit the text inside the cube. In the 3D panel, click on the Cube_Material. Your Properties panel will change to show the cube material settings. Set the opacity to 5%.
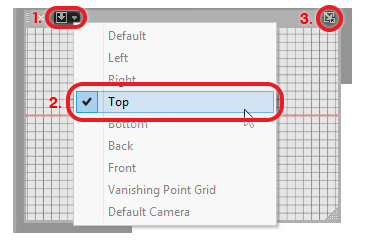
Step 6
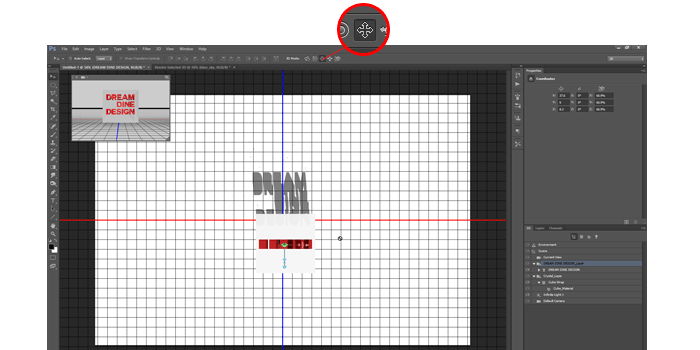
Now we’re going to resize and reposition the text so that it fits inside the cube. To make it easier, we’re going to switch the view so that we’re looking from the top down. In your 3D Secondary View window (View > Show > 3D Secondary View), click on the panel menu and select Top. Then click on the “Swap Main and Secondary-View” button located at top-right of your panel. This will swap your secondary view with your main view.
Step 7
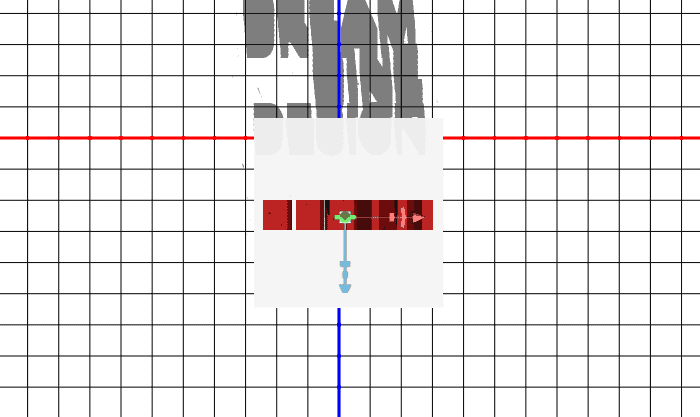
Select the 3D text layer in your 3D panel. Switch the 3D Mode to Scale in your options bar then click on an area outside of the text and drag to scale it down so that it fits inside the cube. Switch your 3D Mode to Drag (the 3rd button), then click on an area outside of the text and drag to reposition the text so that it’s in the middle of the box.