Thứ Năm, 3 tháng 10, 2013

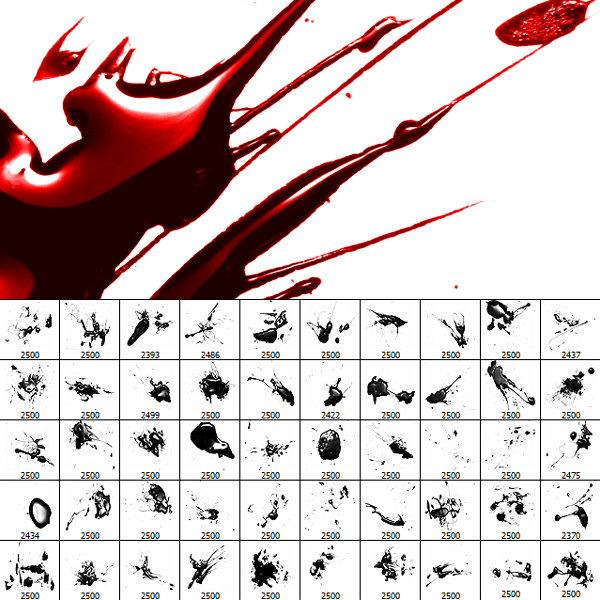
Small (675 pixels) | Photoshop 7+
Medium (1250 pixels) | Photoshop 7+


How to Install
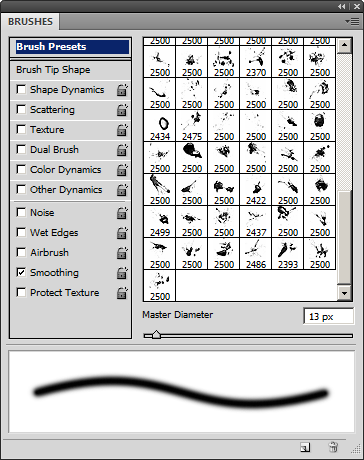
In the Brushes window (Window > Brushes), click on the flyout menu on the top right then choose Load Brushes. Browse for the brush file then click OK.

The glossy blood splatter brushes will appear at the bottom of the list. For the sharpest results, use the original size. Our brushes come in three sizes for you to use: 675 pixels, 1250 pixels, and 2500 pixels.
How to Create Blood
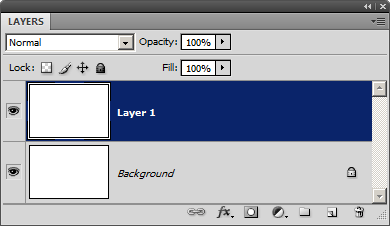
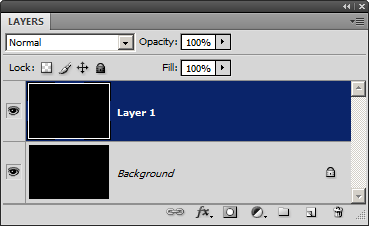
Step 1 – Create a new layer with a white background
Create a new layer then fill with white. You must fill the background with white; this will not work on a transparent layer.
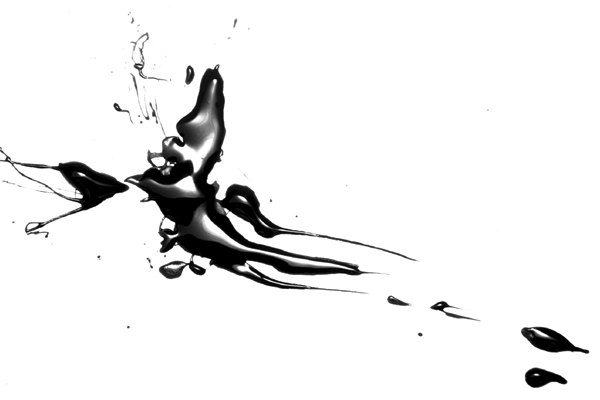
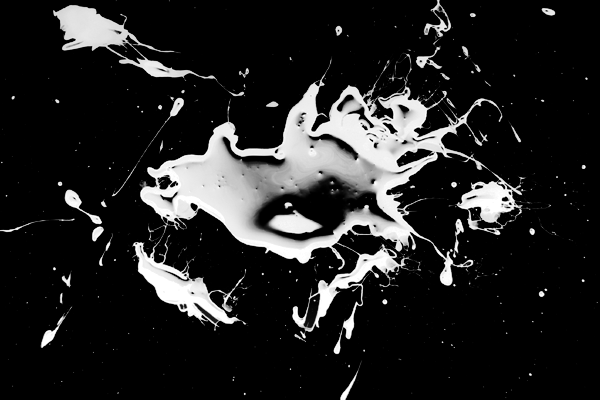
Step 2 – Paint the blood splatter
Set the foreground color to black. If you use any other color, the blood splatter will look flat. Select the brush from the brush palette (Window > Brushes) then click on the document window where you like to place the brush.
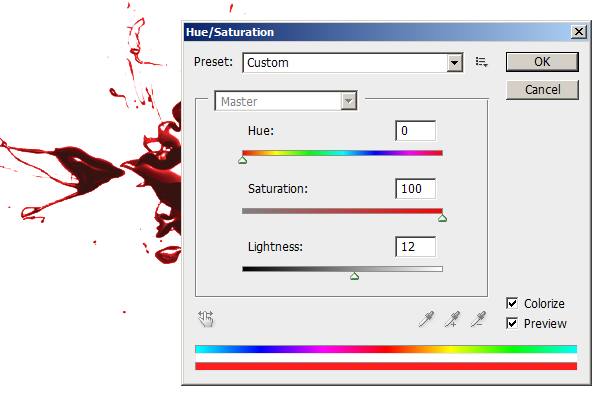
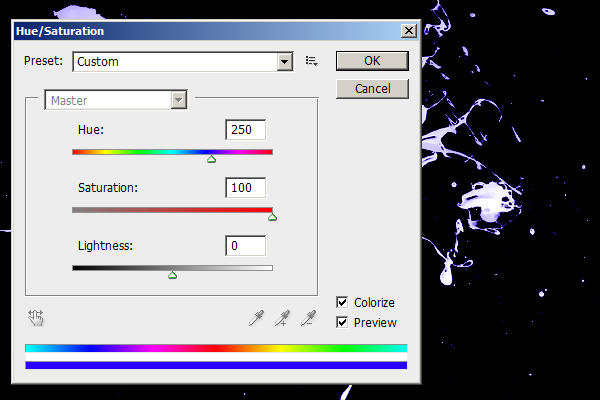
Step 3 – Adjust the color
Choose Image > Adjustments > Hue/Saturation. Checkmark the colorize option then apply the settings shown below. You can also change these settings to alter the color. For example, setting the lightness to around 20 can give it an acrylic paint look.
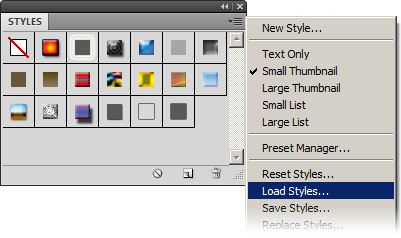
Step 4 – Apply the included layer style
In the Styles palette (Window > Styles), click on the flyout menu on the top right then choose Load Styles.
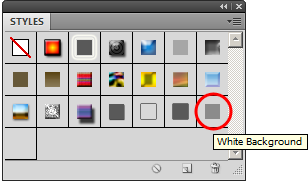
Click on the White Background layer style. This will make the white areas of the layer transparent; just like using a brush.
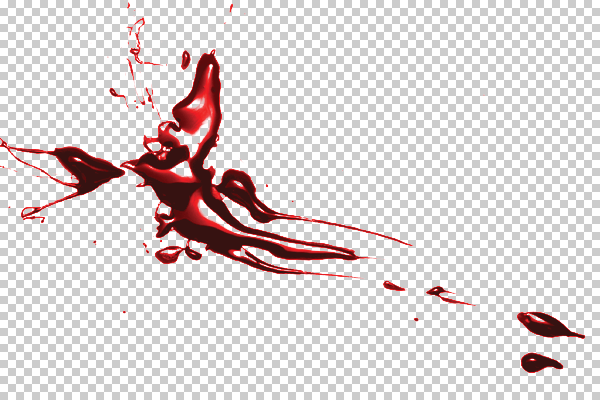
Final Results
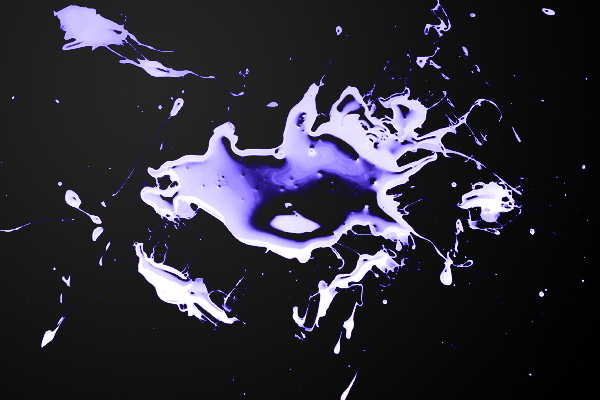
How to Create a Black Light Effect
Step 1 – Create a new layer with a black background
Create a new layer then fill with black. You must fill the background with black; this will not work on a transparent layer.
Step 2 – Paint the blood splatter
Select white as the foreground color then click anywhere to add the splattered paint.
Step 3 – Adjust the color
Choose Image > Adjustments > Hue/Saturation. Checkmark the colorize option then adjust the settings to get the color that you like.
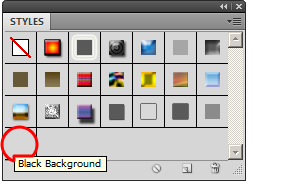
Step 4 – Apply the included layer style
In the Styles palette (Window > Styles), click on the flyout menu on the top right then choose Load Styles.
Click on the Black Background layer style. This will make the black areas of the layer transparent; just like using a brush.
Final Results